Typo Light Box DIY
In which I decide to design homemade letter tiles for the Typo Light Box...to add colour and change up the font for some sweet little sayings to brighten up my workspace. Don't forget to subscribe to my newsletter (see link at the end of the post) to find out about future projects and downloads! :)
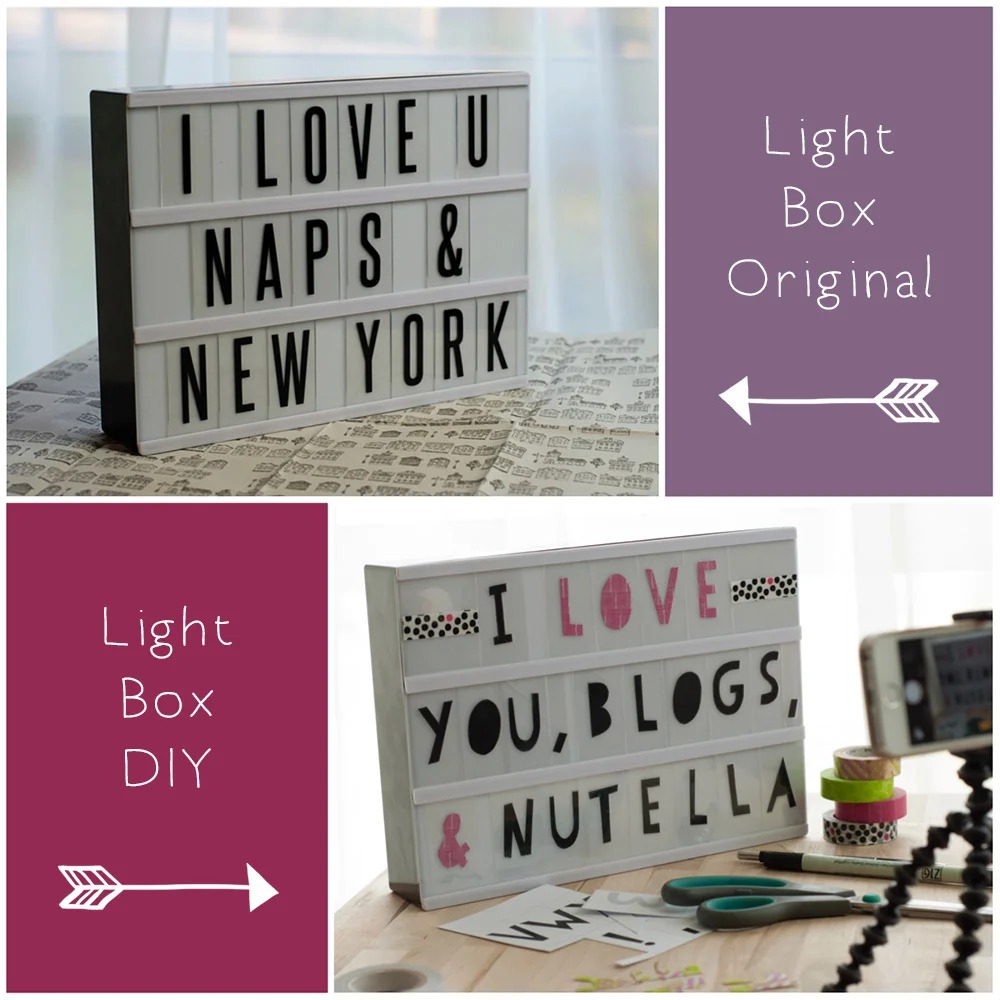
I picked up this cute Light Box from Typo recently. If you haven't heard of Typo, it's a stationery addicts idea of heaven...with all kinds of extras like craft supplies, home decor, tech accessories...the list goes on. Anyway, I loved the look of their light box when it came out recently...and as it turns out it's a popular item. It's a great way to display your favourite saying, and it takes batteries so you can flick a switch and make it glow...though I think it looks great without the light factor too. Their social media feed declared it sold out pretty quickly but Typo assure us there's more coming...and with new tile types. In the meantime, I decided to play with making my own :)

Click through to visit my store where you'll find sweet 8x10 prints including custom designs. Some prints even feature macarons, chalkboard and sprinkles!

You will need:
- Typo Light Box & an original letter tile to use as size template
- Washi Tape
- Something to cut out letters with...scissors, craft knife (+mat) , Silhouette
- Print out of the letters you wish to cut & make into your own tiles (download mine here)
- Black marker
- Laminating pouches and access to a laminator

OK...so the instructions look a little wordy...but I wanted to share little tips and tricks I learned along the way. Trust me, it's not tricky, and you'll love how it looks when you're done :)
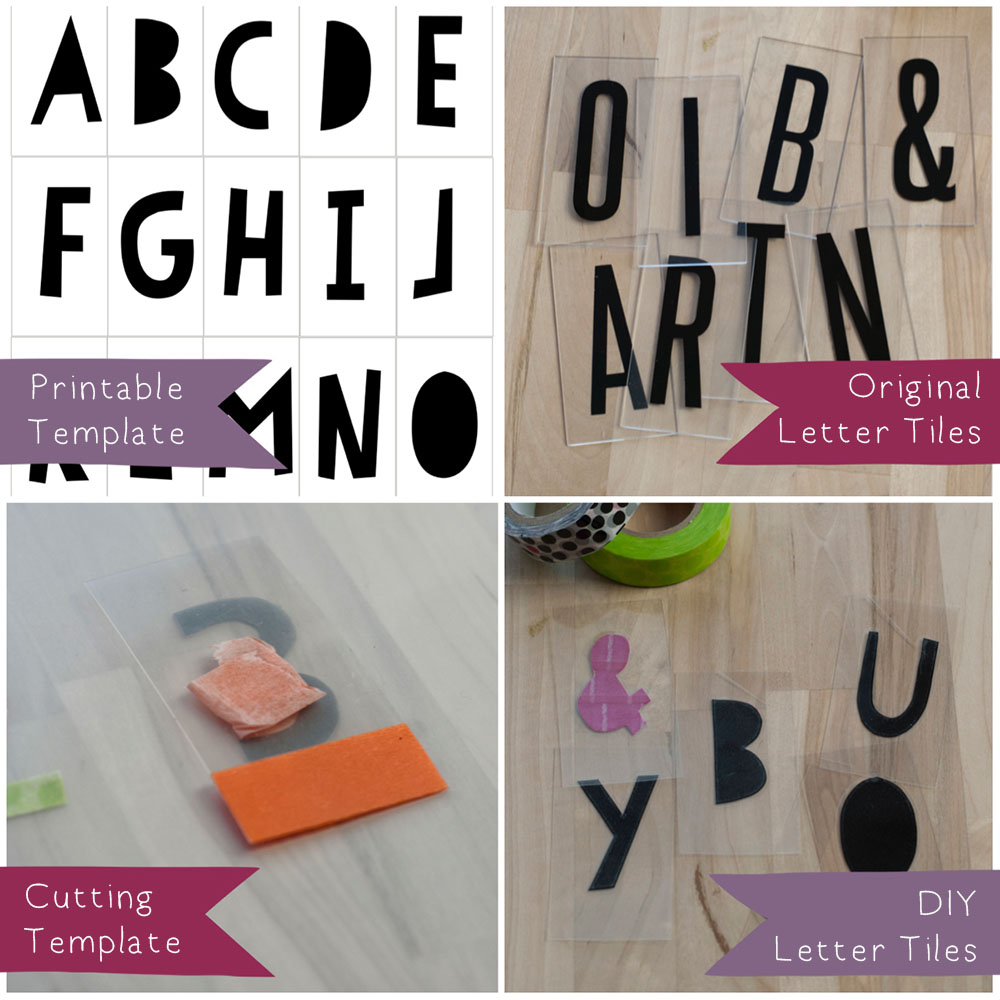
- Choose a font that's easy to cut by hand (I picked PaperCute) or if you're going to use a cutting machine then go nuts because there's really no limit font wise :)
- Using a word processor or desktop publishing program (InDesign/Pages etc), make a template that has a grid, with each rectangle equalling the dimensions of the original Typo letter tiles. Using the grid as a size guide, place individual letters in each rectangle. I used black, and also pale grey for the letters I was going to colour with washi tape. This way you can't see any print colour peeking through the translucent tape. If you're not up for making your own template, you can download my "PaperCute"one here as an A4 PDF file.
- Print and cut your letters.
- Go around the edges of the black ones with a marker to make sure no white is visible. Cover the grey ones with strips of washi tape to make them cute and colourful, then trim around the edges.
- Place the letters inside laminating pouches. Keep them spaced well apart from each other to make for easy cutting of your new tiles. I suggest keeping space for one blank tile as you'll use this as a template to cut the others to size. Also it's a little bit tricky to keep the letters sitting still inside the laminating pouch before it goes through the machine. If you've spaced them well apart and they move slightly, you should still have plenty of room for cutting. If you pack them in to save space they'll probably start to rub shoulders as they move and you may not be able to get a clear cut afterwards.
- Laminate. Officeworks has laminating for $1.70 per A4 sheet + laminating. You may wish to only print the letters that make up the specific saying for your light box if you don't want to pay for many sheets to make up a repeatable alphabet.
- Using the size of an original letter tile as a guide, cut your blank tile from the laminated sheet.
- Overlay this new blank tile over each letter, and use it as a cutting guide. Take into account letters that might have moved slightly before being laminated. I stuck a piece of washi tape across the bottom of my tile to help me line up the bottom of the letters to keep them straight (see below) and also a little bit of washi tape on the back to help it temporarily stick to the letter sheet so I could cut around it without having to hold it in place at the same time.
- Slot your freshly cut tiles into the Typo light box. Don't stress if you have to trim them slightly on the top or bottom to make them fit. Also keep in mind, because you picked the font and you made the tiles, you don't HAVE to stick to the same width as the original Typo letter tiles. You can trim them thinner and fit more letters in by choosing your own spacing. I cut my punctuation tiles extra thin for this reason.
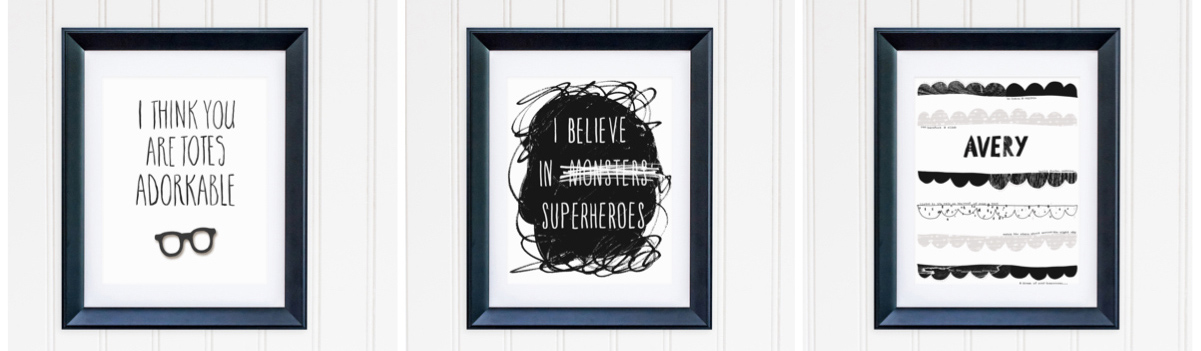
Click through to visit my store where you'll find both whimsical and bold 8x10 prints including custom designs. The totes adorkable one above is my favourite of the moment, watercolour lettering & little painted black spectacles!
I also added a few washi tape strips just for fun...and my mind is already ticking over as to new phrases/extras I could add next. One thing is for sure, there will polka dots in some form or another!
If you don't have access to Typo, hopefully you will come across a light box in some form in a home decor store. I've seen them online a fair bit lately so they must be trending. You could tweak this tutorial to match the light box you find locally.
If you decide to tackle the above project, I would love to see what ideas you come up with...tag me on Instagram or Twitter using the social media links below :)