DIY Instagram Canvas
I saw this photo of a painted canvas on Pinterest (I think?!) ages ago and filed it away for future reference...as I have done with SO many projects...but for once I actually decided to go ahead and attempt my own version of the idea and I thought I'd share it with you. It's really hard to capture the detail of the lettering due to the extremely neutral colour palette of this project, so please forgive the weirdly green tinted final version photograph...you'll just have to trust me that it really is a basic neutral in real life :)

Pinterest version

My version (frame by Paislee Press)
I'm still deciding if I'm finished with it. As in, I love the Instagram printed look at the bottom of the canvas (and I designed it with this in mind space wise) but the neutral area is probably a little larger than I anticipated so I either need to print larger versions of the Instagrams, or brainstorm a different decoration altogether. So, it's a work in progress...I might add I've left it on my wall like this since last year...obviously I'm happy enough with it to keep it as is for now...you might see an updated version in the future :)
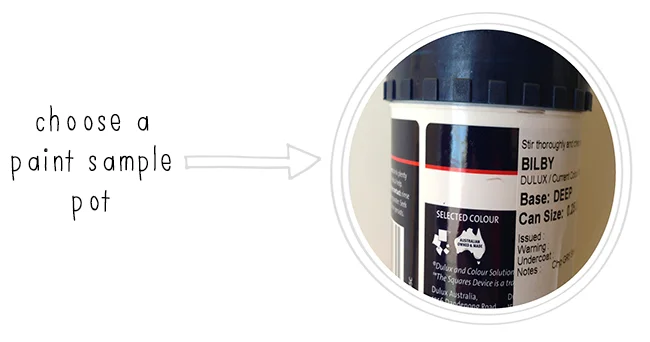
First up, I don't use proper acrylic craft paints for projects of this size. I usually grab a Dulux Wash & Wear sample pot from a hardware store in the colour of my choosing because then I don't have to worry about mixing the right colour and quantity of the paint, and I think overall it comes out cheaper. I also know that being as restless as I am interior decorating wise, I'm not going to keep this canvas forever...in a few years I will have moved onto something else. So...the paint has never faded on previous projects...it doesn't smell afterwards...and its easy to clean up with water...so that's why I go the Dulux route. (note: Bilby is NOT the colour for this project, it's another sample pot I had lying around that I used to photograph...I can't remember the name of the colour I chose...something neutral was all I was after)
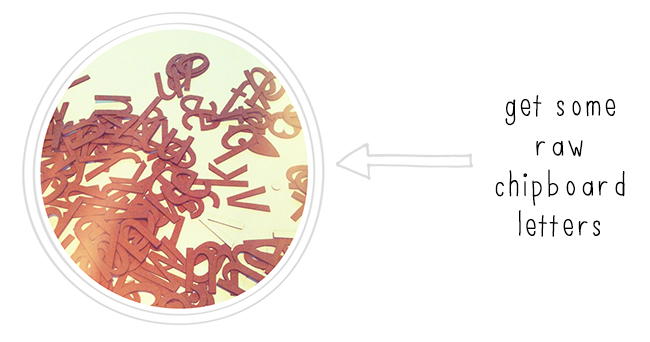
Now, you're going to need to decide the quote or wording you want on your canvas at this point, and do the math regarding how many alphabet sets you're going to need. I needed a lot...so I found mine on eBay...more cost effective than the name brand craft store kind that come with less letters. But, it all depends on what you're going to have on the canvas itself. I tried to find a quote I liked enough to keep on my wall for ages, but in the end I just mixed up some lyrics from a few different songs to make a custom quote that I found easy to live with. For the record: Coldplay, Taylor Swift, Brooke Fraser and Oliver Hood! If you go back and look at the canvas picture you'll notice I did one word in a different font...I just wanted it to stand out a little against the others just for something interesting.

You will need some good podcasts for this part. I decided that I was going to individually paint the letters before sticking them on the canvas...others have stuck the letters on raw and painted the canvas and letters together. I wasn't sure how smooth the painting would look if I did that so I went the time consuming route. Next time I would probably try it the other way.

I did 2 coats of the letters, 2 of the canvas, and then one after I stuck the letters on the canvas with craft glue. Take your time getting them lined up and spaced out how you want during the glue process...think about whether you can live with uneven lines of letters for as long as you keep your canvas...it would drive me crazy so I spent as much time as I could getting this stage right. It helps to stand high above the canvas looking down so you gets some perspective...just don't do it with the ceiling fan on like I did!

Now, I didn't actually use Instagrams, it's just easier to say that because everyone knows what you mean! Initially, I was going to print all original photographs by me...but I was doing it to a deadline (20+ people coming to our house for lunch) so I cheated a little bit and included some of my favourite pics from Pinterest in addition to my own. I actually took snapshots of them on my computer screen using my iPhone, and applied the same border/filter to the screen shot ones as I did my own original photos. Screen shots always look a little weird when they're printed out big because a photo of a screen is always distorted, but because these were small prints, you can't actually see the distortion unless you're going to put your nose right up against the canvas. They were printed in matte and the photo on the right is mine, the photo on the left is Pinterest. At this point you could probably seal the whole canvas & photos in with a matte Mod Podge...but because I'm still deciding if this is how I'm going to keep it...mine hasn't been sealed yet.
So, I do love it, and I like that it's something different. Because the letters I chose are fairly flat I like that the lyrics aren't always immediately noticeable...it depends on the light and the angle...it's fun watching people walk up to it trying to figure out what it is! It's also subtle and doesn't grab your attention when you walk past...something different to try anyway! I'm thinking I need to start picking a few more ideas out of my giant Pinterest DIY board...fun to try and fun to share. Do you have any projects on the go for your house at the moment?
Design Elements: Font Elsie Tall `n Skinny, Frames by Paislee Press, Arrows by Ali Edwards